I am so excited to share this recipe because it was so much better than I imagined! Even Alex was skeptical when I suggested making this for dinner (okay, that’s not that surprising, Alex hates eating healthy). These spaghetti squash boats are full of flavor and super filling, which is absolutely necessary for feeding Alex and I. The pictures don’t look that appetizing, but I promise that these taste so much better than they look! This recipe feeds two people, so if you are feeding more, double the recipe!

What You’ll Need:
- One large spaghetti squash
- 1 8 oz. can of tomato sauce
- 1 lb. ground turkey ( we use 93% lean)
- 1 cup chicken broth
- 1/2 cup heavy cream
- 1 can artichoke hearts (slice these to make them smaller!)
- Garlic
- Olive Oil
- Italian seasoning
- Salt and pepper
- Dried basil
- 1/2 cup shredded mozzarella cheese
How to Make It:
- First, preheat the oven to 400 degrees. Then, cut the spaghetti squash in half and spoon out the insides. Lightly drizzle olive oil and season with salt and pepper, then place face down on a baking pan. Put in the oven and bake for 45 minutes until squash is tender.
- While the squash bakes, start the filling! Heat olive oil in a pan and add ground turkey and garlic. Stir together until cooked, about 7-10 minutes. Remove turkey from skillet and drain. Place to the side.
- In the same skillet, add the chicken broth, heavy cream, and tomato sauce. Stir until it comes to a bit of a boil.
- Once the sauce is boiling, reduce heat and add the artichoke hearts and ground turkey back into the pan.
- Allow all of this to summer about 5-10 minutes. Add the dried basil and Italian seasoning (I did not put measurements because I usually just eyeball seasonings, but I’d say about 1-2 tablespoons of each would do the trick! It is all personal preference).
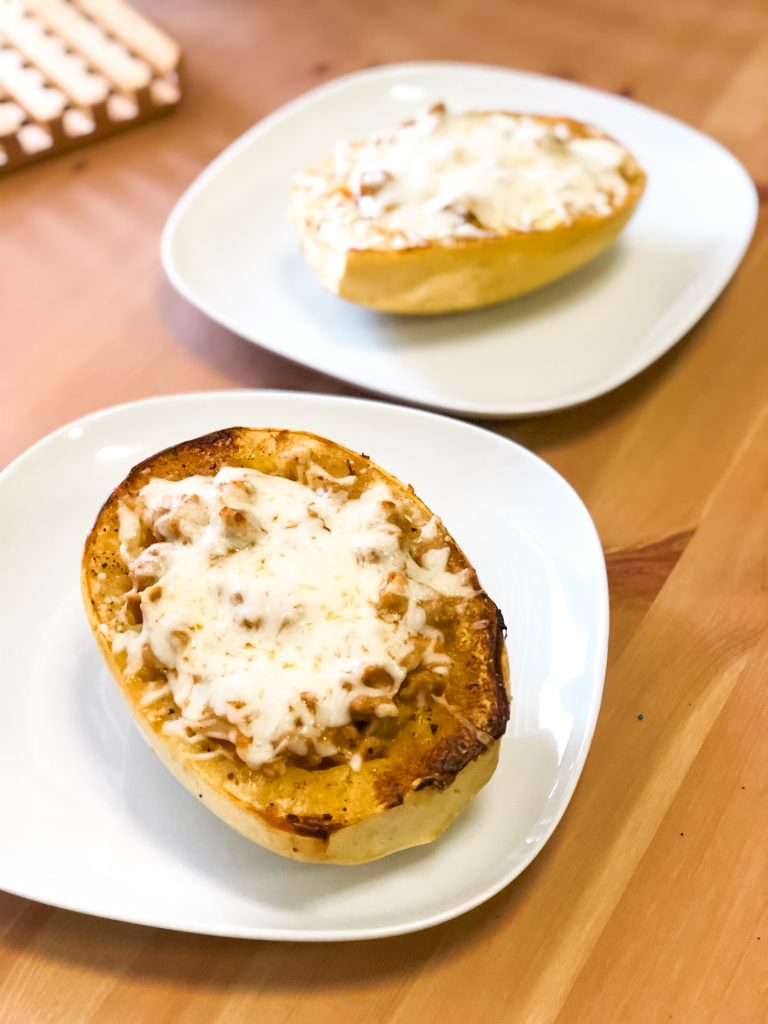
- Once the squash are ready, remove from oven and fill boats with the filling. Add mozzarella on top and bake again for about 5 minutes, or until cheese is melted.
- Remove from oven and enjoy!